Introduction
The Sales section is your centralised hub for all transactions—services, products, and payments. Quickly review sales history, add new sales, issue refunds, attach notes, and keep your sales organised.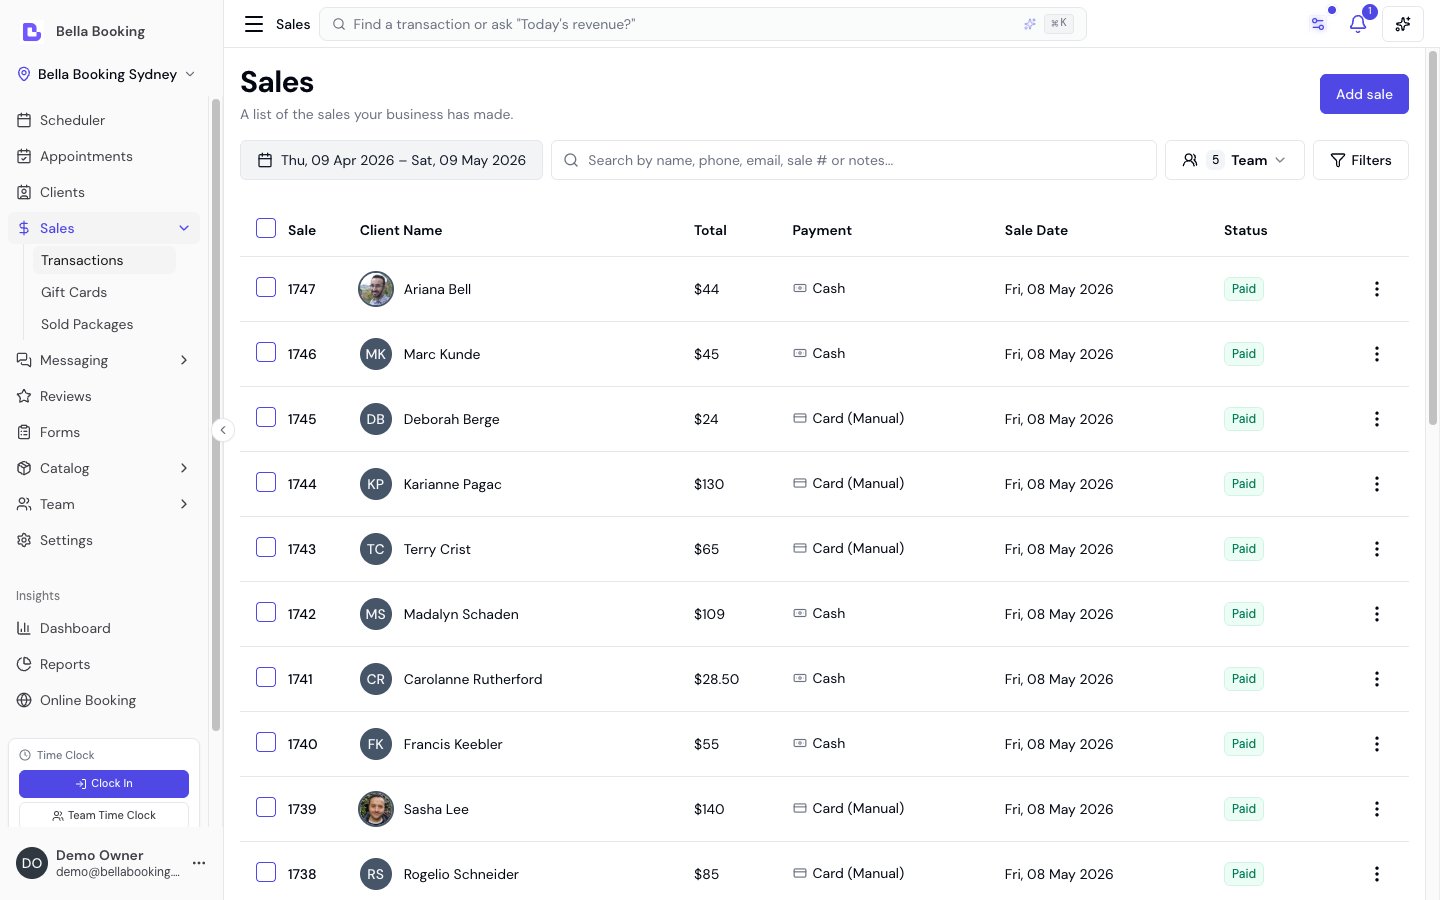
Key Features
- Sales History Table: View all completed sales with essential details: sale number, client name, total, and sale date.
- Add Sale: Easily record new sales.
- View Sale Details: See complete information about any sale including items, payment, and notes.
- Refunds: Process full or partial refunds directly from each sale.
- CSV Export: Export your sales data to CSV for reporting and analysis.
Step-by-Step Usage Instructions
Navigating the Sales List
- Access the Sales section from the main sidebar to view a table of all recent transactions.
- Use the search bar above the list to find sales by sale number
- Click any row to open the sale details panel for further actions.
Adding a New Sale
- Click the
Add salebutton above the sales table. - The Add Sale side panel will open. Complete each section:
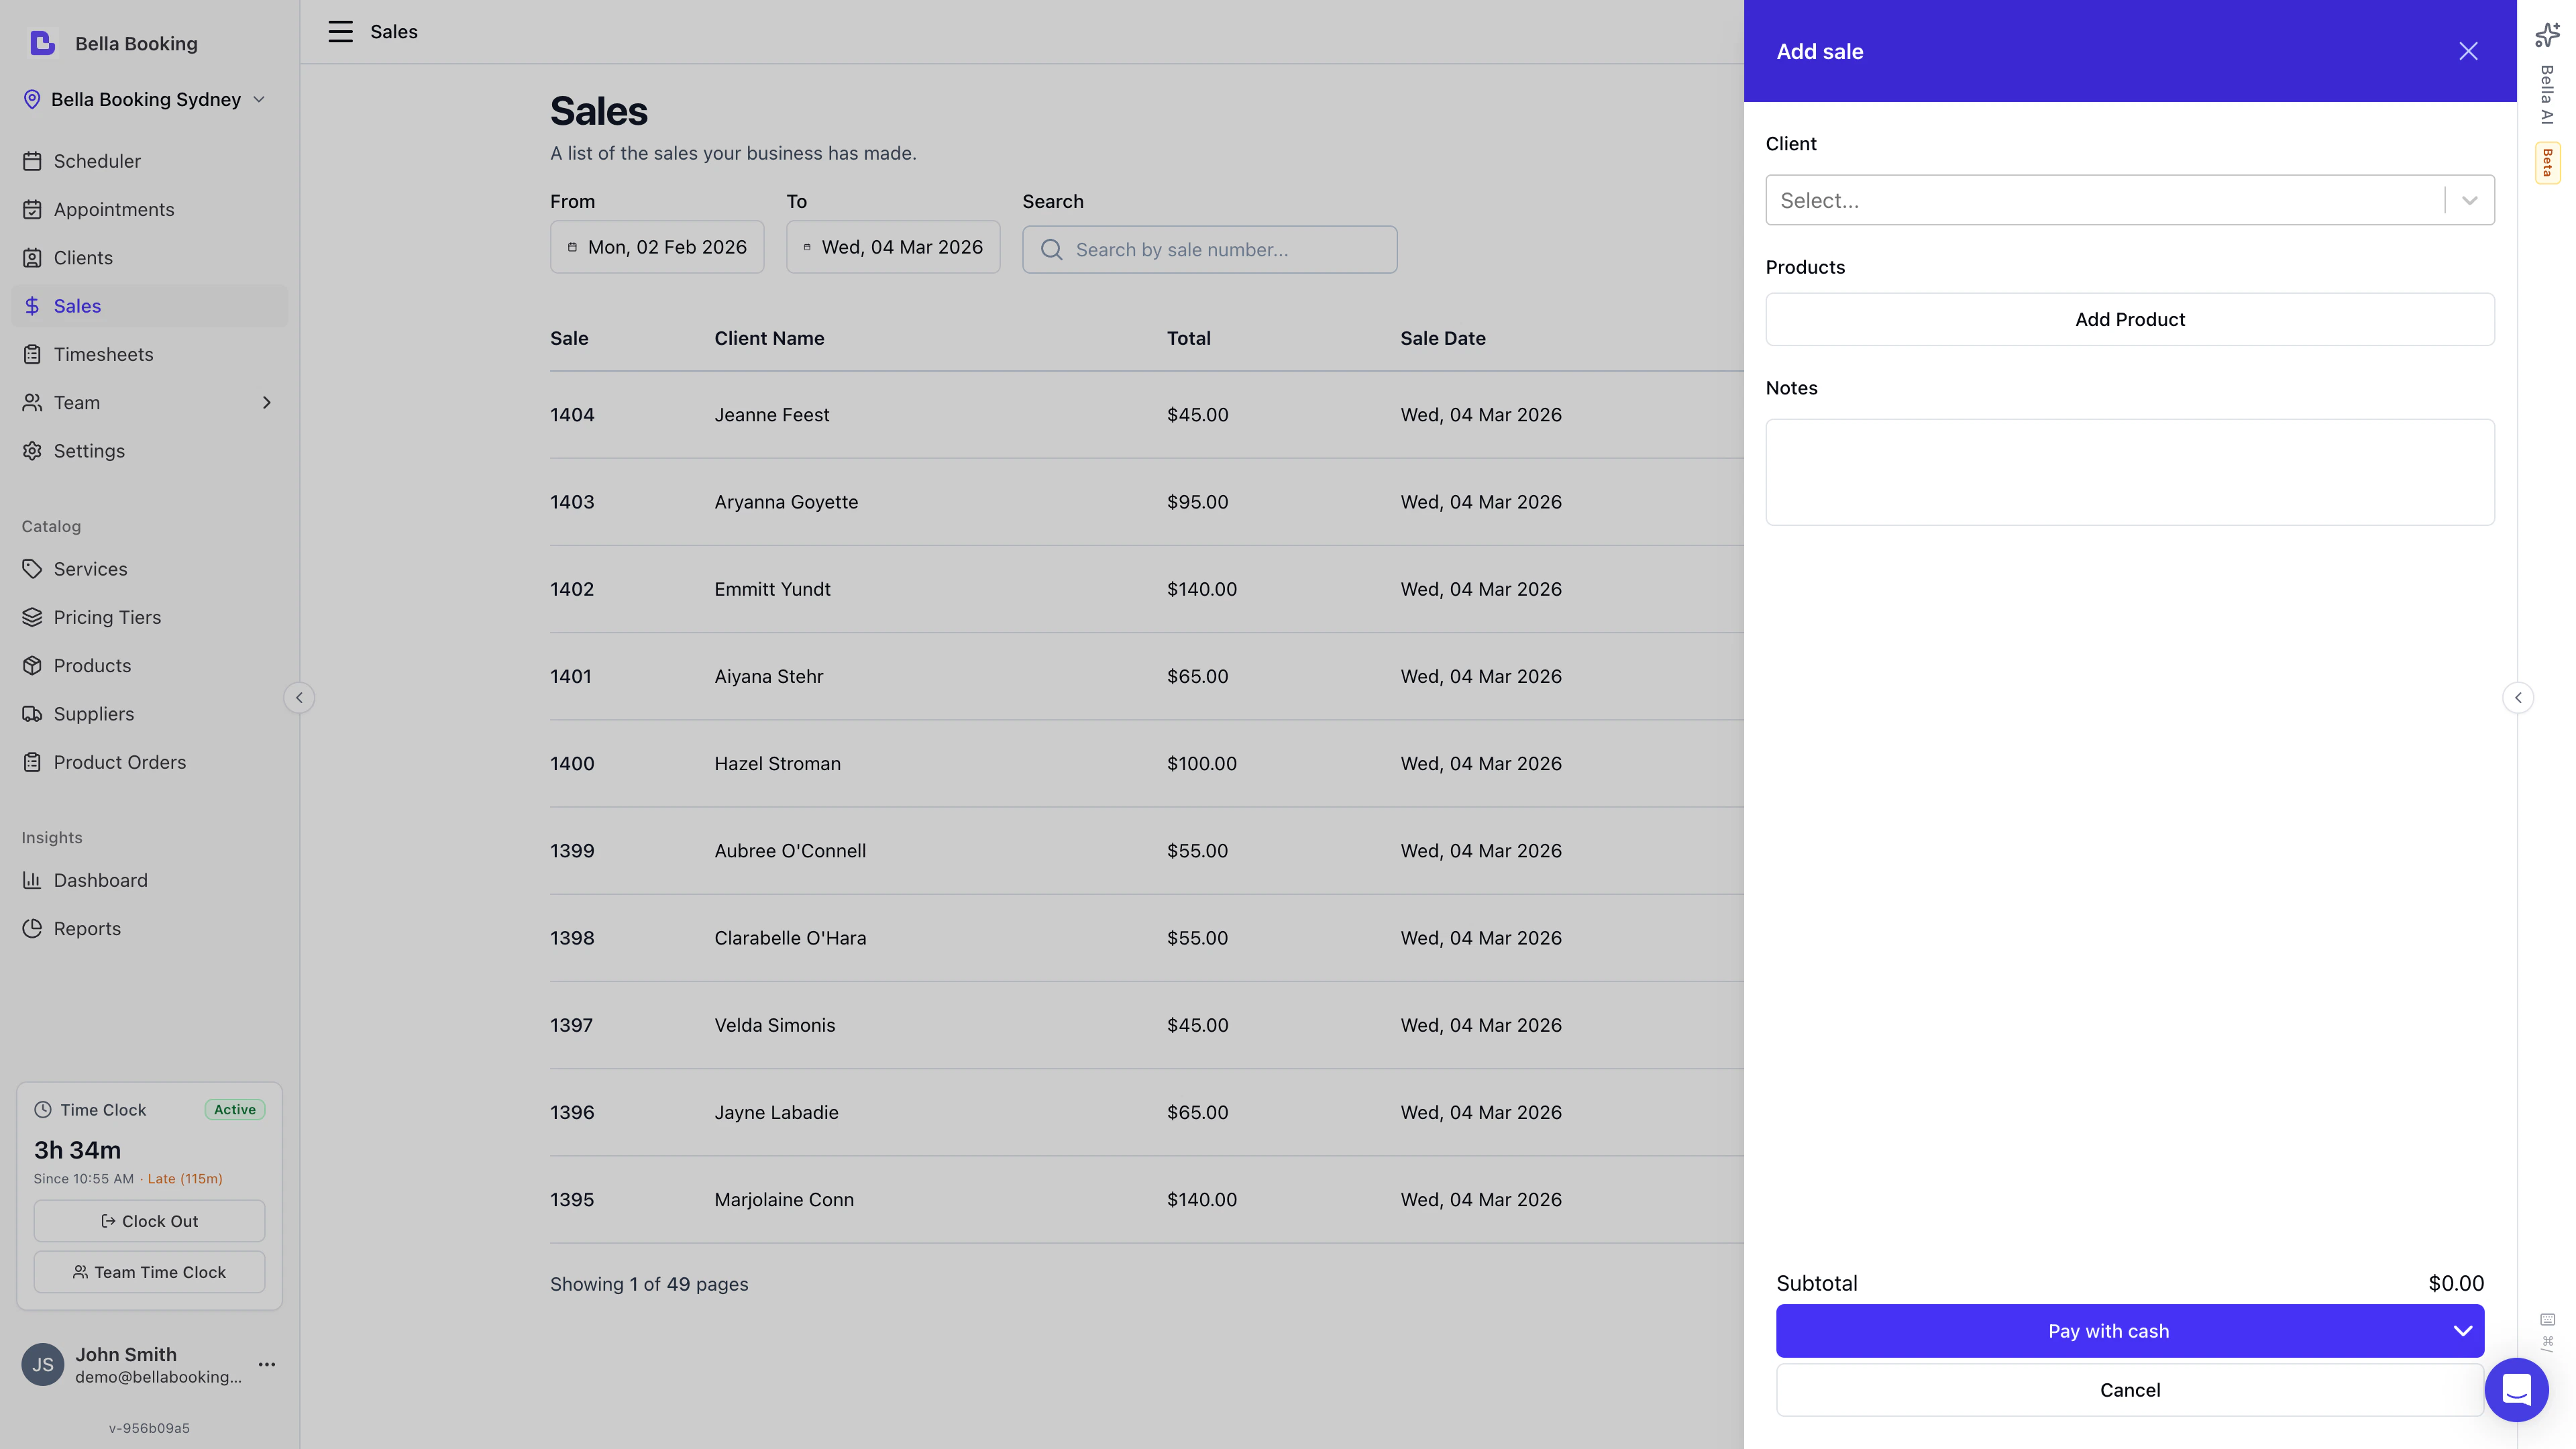
- Client: Select an existing client or create a new one. - Products: Add
products by selecting from dropdown lists and setting quantities. - Packages:
Click
Add Packageto sell a prepaid package (when enabled in settings). - Notes (optional): Enter notes for your team’s reference or reminders. 3. Review sale details at the bottom. If everything is correct, clickPayto confirm and record the sale.
Selling gift cards: gift cards are sold from a dedicated Sell Gift Card action on the Gift Cards screen — they’re not added to a Sale. See Gift Cards for the sell and redemption flow.
Payment Methods
When recording a sale, select the payment method used. The same four options appear everywhere you take payment — Sales, appointment Checkout, and Record Deposit:- Cash: Direct cash payment
- Card (Manual): In-person card payment processed outside Bella — record-keeping only.
- Other: Any other payment method — bank transfer, voucher, barter, etc. Record-keeping only.
- Card on File: Charge the client’s saved card via Stripe (only available when the client has a valid saved card — see Saved Cards & Card on File). The brand, last four digits and expiry date are shown directly on the option so you can see at a glance whether the card is expiring or expired before charging. If Pass Processing Fees is enabled, a processing fee line item is added to the total when this method is selected.
Viewing Sale Details
- Click any sale row in the sales table to view the sale detail page.
- The sale details page shows:
- Sale number
- Client name
- Sale date
- Payment method
- Items purchased (services with any add-ons, and products)
- Any refunds processed
- Total amount
- Notes

Correcting a completed sale
Made a data-entry mistake on a finished sale? You can correct two things in place, without refunding — and each correction is recorded in an Edit history on the sale (who changed what, when, and why):- Collection method — fix the recorded method when it was rung up wrong (for example, recorded as Cash when the client actually paid by Card (Manual)). You can switch between Cash, Card (Manual) and Other only.
- Team member — reassign the team member credited for a service or product line. If the sale came from an appointment, that appointment’s team member is updated to match, so your scheduler and reports agree.
- Open the sale from the Sales list.
- Click Edit sale (top right of the sale detail page).
- Change the collection method and/or the team member on any line.
- Enter a reason (required), then click Save.
Editing is limited to record-keeping fields where no money has moved. A sale paid by
Card on File (a real card charge), Gift Card or Package, or one split across
several methods, can’t have its collection method changed here — refund the sale and take
a new payment instead. Correcting a sale needs the same permission as issuing a refund.
Processing Fees on Sales
When a sale is paid using Card on File and Pass Processing Fees is enabled, the processing fee is shown as a separate line on the sale detail page. This fee covers only the checkout charge — if the client also paid a deposit with a processing fee, that deposit fee is tracked separately on the appointment and is not included in the sale’s processing fee. For more details on how deposit and checkout fees are kept separate, see Deposit and Checkout Fees Are Separate.Issuing Refunds
- Open the Sales from the side panel.
- Find the sale you wish to refund.
- Click the Toggle Menu (Three dots) and click
Refundbutton. - Enter the refund amount (partial or full) and select the refund reason.
- Confirm the refund.
For sales paid using Card on File, the refund is processed automatically
through Stripe and returned to the client’s original card. The maximum
refundable amount includes the sale total plus the checkout processing fee (if
any). Deposit processing fees are refunded separately through the
appointment’s deposit refund flow. For Cash and Card (Manual) sales,
refunds are recorded for your records only — you’ll need to handle the actual
refund separately.
Adding or Viewing Sale Notes
- Open the Sales from the side panel.
- Find the sale you wish to refund.
- Click the Toggle Menu (Three dots) and click
Add a notebutton. - Type your notes.
Recording Deposits
You can collect a deposit against any booked or confirmed appointment — in person, over the phone, or by charging a client’s saved card on file.How to record a deposit
- Open the appointment in the Scheduler (click on the appointment).
- In the appointment details panel, click Record Deposit.
- Enter the deposit amount.
- Select the payment method:
- Cash — cash paid at reception
- Card (Manual) — in-person card payment processed outside Bella (covers EFTPOS too)
- Other — bank transfer, voucher, etc.
- Card on File — charge the client’s saved card via Stripe (available when the client has a valid saved card)
- Optionally add notes (e.g., “Cash paid at reception”).
- Click the action button to save. The button label reflects your selection — for example “Charge Visa ····4242 for Deposit” or “Record Cash Deposit”.
Cash, Card (Manual) and Other deposits are for record-keeping only — refunds
for those methods must be handled outside the system. Card on File deposits go
through Stripe and can be refunded automatically by cancelling the
appointment.
Related Features
- Prepaid Packages — Sell prepaid session packages and redeem them at checkout
- Gift Cards — Sell digital gift cards and apply them as payment at checkout