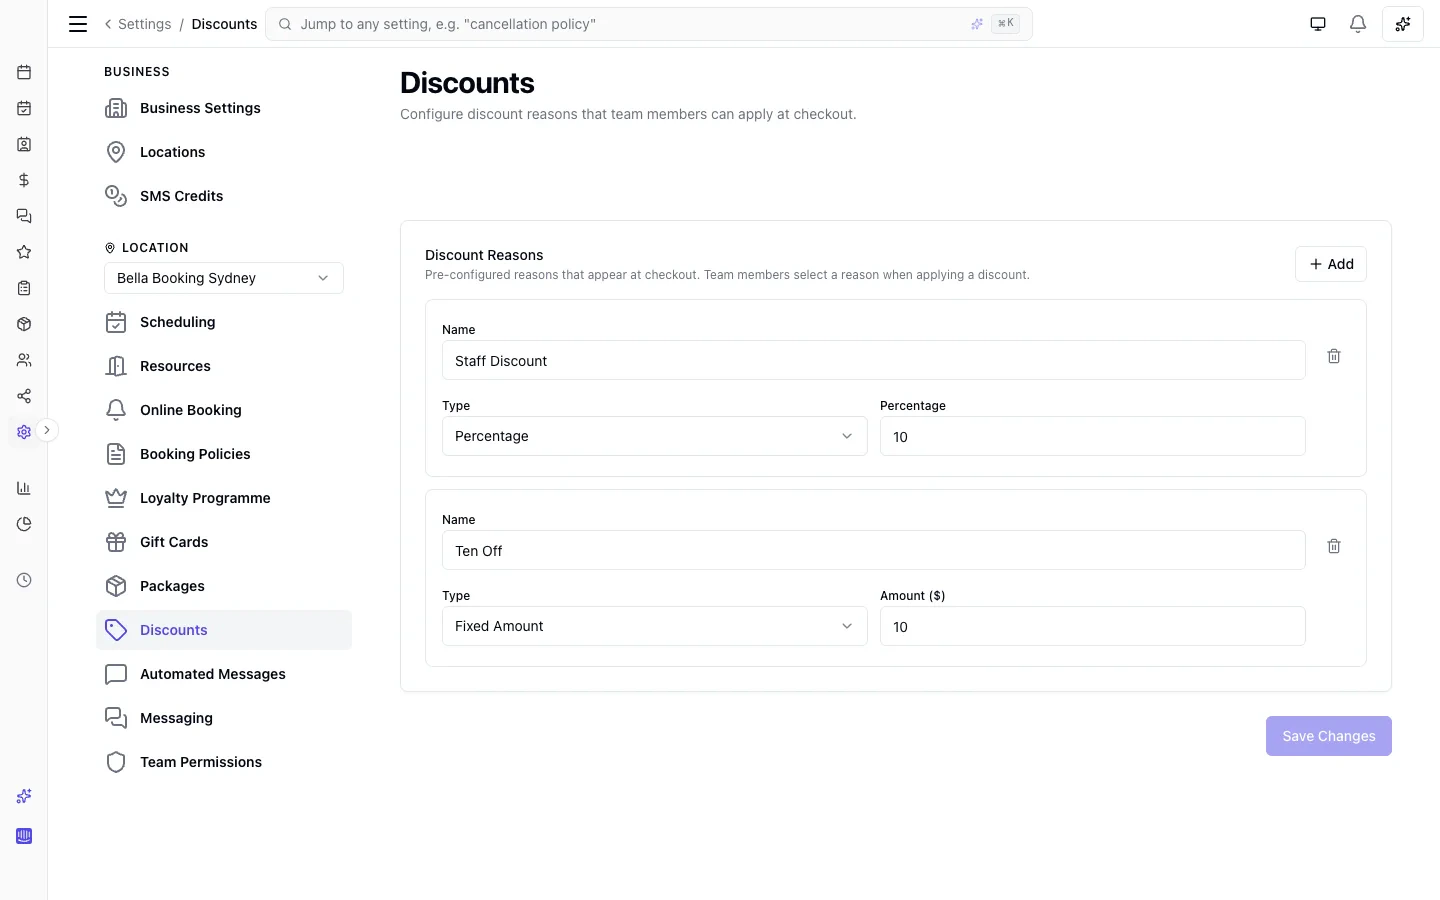
Setting up discount reasons
- Go to Settings > Discounts
- Click Add to create a new discount reason
- Enter:
- Name — A descriptive label (e.g. “Staff Discount”, “Goodwill”, “First Visit”)
- Type — Choose Percentage (e.g. 20% off) or Fixed Amount (e.g. $15 off)
- Value — The discount amount or percentage
- Click Save Changes
How discounts work
Team members can apply discounts at two levels:Per-service discount
Apply a discount to a specific service within an appointment. Each service row in the checkout or edit view has an Add discount link — click it to select a preset reason or create an ad-hoc discount on the spot.- Available in both Edit and Checkout modes
- Applied discounts appear as an amber pill on the service row showing the reason and amount
- Multiple services can each have their own discount
- The discount applies to the base service price only (add-ons are not discounted, consistent with membership benefits)
Appointment-level discount
Apply a discount to the entire appointment total, after any per-service discounts. Select a reason from the Discount dropdown in the checkout or edit panel.- Available in both Edit and Checkout modes
- In Edit mode, the discount is saved as a pending adjustment and automatically applied when the appointment is checked out
- Calculated on the remaining total after per-service discounts, loyalty rewards, and package deductions
Ad-hoc discounts
Don’t have a preset that fits? Click Add discount at the bottom of the reason list to enter a one-off value:- Choose Percentage or Fixed amount and enter the value
- Optionally type a Name — if left blank, the discount is labelled “Discount” on the receipt
- Toggle Save as reason for future use to add it as a permanent preset
How they stack
Per-service and appointment-level discounts stack naturally:- Package credits cover specific services first
- Membership benefits discount specific services
- Per-service manual discounts reduce individual services (clamped to remaining base price)
- Appointment-level discount reduces the remaining total
- Gift card covers whatever remains
Bundles are covered. A discount or promo code scoped to a service also applies when that service is booked as part of a bundle — each service in a bundle is discounted on its own line. Scope the discount to the bundle’s services, or apply it to all services.
Promo codes
Promo codes are discount reasons with a code that clients can enter during online booking, or that staff can enter at checkout.Creating a promo code
- Go to Settings > Discounts
- Add a new reason or edit an existing one
- Toggle This is a promo code on
- Enter:
- Code — The code clients will enter (e.g. SUMMER25). Automatically converted to uppercase.
- Expiry date — Optional. The code stops working after this date.
- Max uses — Optional. Total number of times the code can be redeemed across all clients.
- Once per client — When enabled, each client can only use the code once.
- Code entry only — When enabled, the code won’t appear in the staff discount dropdown. Clients (or staff) must type the code to use it.
- Click Save Changes
How clients use promo codes
During online booking, clients see a Have a promo code? link on the booking confirmation step. They enter the code, and the discount is applied to their booking total before payment. If the code is invalid, expired, or doesn’t apply to their selected services, they see a clear error message explaining why.How staff use promo codes
At checkout, staff can enter a promo code in the Promo code collapsible section (below the gift card section). The same validation rules apply.Promo code limits
- One promo code per booking
- Promo codes can stack with manual discounts (per-service and appointment-level)
- Service-scoped codes only apply to the specified services
- Once-per-client enforcement is atomic — concurrent bookings cannot double-redeem
Archiving a discount reason
To stop a discount reason from appearing at checkout without deleting historical data:- Click the archive icon next to the reason
- Click Save Changes
Reporting
View discount usage in Reports > Discount Summary. The report shows:- Daily breakdown — Number of discounts applied and total amount per day
- Reason breakdown — Total amount and usage count for each discount reason (e.g. “Staff Discount: 12 times, $840”)
- Service breakdown — Which services are most frequently discounted and by how much
- Comparison mode — Compare against a previous period to spot trends
- Source — Manual discounts vs Promo codes
- Scope — Per-service discounts vs Appointment-level discounts
Permissions
The Apply discounts permission controls who can apply discounts. By default:- Owner, Admin, Receptionist — can apply discounts
- Team Member — cannot apply discounts (configurable per role)